Spring loading a pin involves attaching a spring to a pin to create a tension-based connection. Here is a step-by-step guide on spring loaded pins process:
- Gather materials: You will need a pin, a spring, and a pair of pliers.
- Choose the right size spring: The spring you choose should fit snugly around the pin. It should provide enough tension to create a secure connection, but not so much tension that it is difficult to connect or disconnect the pin.
- Attach the spring: Take one end of the spring and insert it into the pliers. Use the pliers to bend the spring into a U shape.
- Slide the pin into the spring: Take the pin and slide it into the U-shaped spring. Make sure that the spring is centered around the pin.
- Adjust the tension: Use the pliers to adjust the tension on the spring. You want enough tension to create a secure connection, but not so much that it is difficult to connect or disconnect the pin.
- Test the connection: Once you have attached the spring to the pin, test the connection to make sure that it is secure. You should be able to connect and disconnect the pin easily, but it should not come loose accidentally.
Nonetheless, spring loading a pin is a simple process that can be done with just a few tools. With some practice, you can create secure and reliable connections that are tension-based and easy to use.
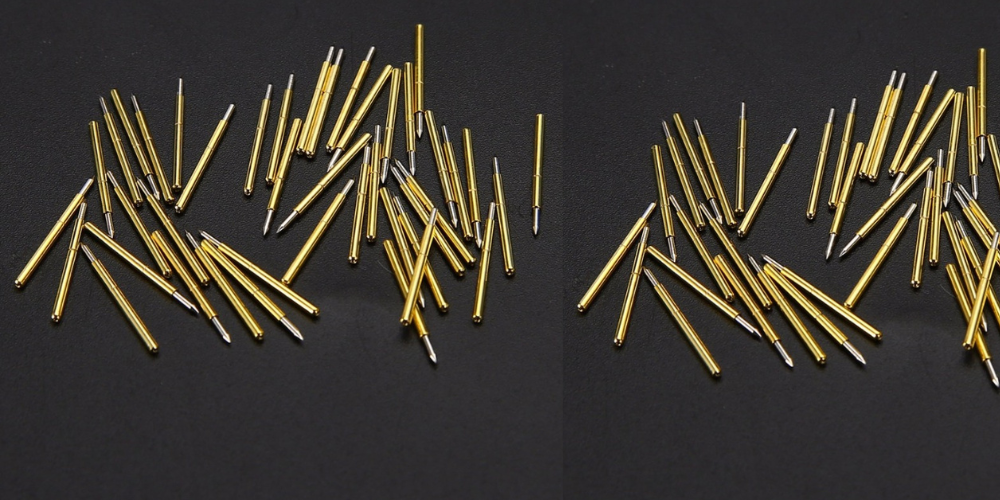
What are the different sizes and shapes of spring-loaded pins:
Spring-loaded pins come in a variety of sizes and shapes, each designed for a specific purpose. Here are some common types:
- Standard Spring Loaded Pin: This type of pin is the most commonly used and is available in a range of sizes. It has a cylindrical shape with a spring inside and can be used for many applications.
- Tapered Spring Loaded Pin: This type of pin has a conical shape and is used for aligning two parts together. The tapered shape helps to guide the parts into position.
- Bullet Spring Loaded Pin: This type of pin has a bullet shape and is commonly used for locating or positioning parts. The pointed end helps to guide the pin into the correct location.
- Flanged Spring Loaded Pin: This type of pin has a flange at the top, which helps to prevent it from being pushed too far into a hole. It is commonly used for fastening or locating parts.
- Coiled Spring Pin: This type of pin is made from a single piece of wire that has been coiled into a spiral shape. It is commonly used for securing two parts together.
- Detent Pin: This type of pin has a ball bearing at the end that sits in a detent, providing a secure connection. It is commonly used for quick-release mechanisms.
- Slotted Spring Pin: This type of pin has a slot cut down the length of the pin, allowing it to expand slightly when inserted into a hole. It is commonly used for securing a shaft or pivot.
- Roll Pin: This type of pin is similar to the slotted spring pin but is made from a rolled-up strip of metal. It is commonly used for securing two parts together.
These are just a few examples of the many sizes and shapes of spring loaded pins available. The right type of pin will depend on the specific application and the requirements of the project.